Infiltration Testing For Soakaway Design in the UK
When it comes to delivering a compliant and cost-effective drainage strategy, understanding how well your site absorbs water is essential. Infiltration testing (often called a percolation test or soakaway test ) is the proven method for measuring the ground’s ability to manage surface water.
At Clear Environmental, we carry out BRE 365 infiltration testing across the UK, helping developers, civil engineers, drainage designers, and planners meet planning requirements and avoid costly redesigns or delays. Our approach is fully aligned with the National Standards for Sustainable Drainage Systems (SuDS) and relevant UK Building Standards, ensuring your drainage strategy is both compliant and future-proof.
What is Infiltration Testing?
Infiltration testing measures the rate at which water drains through the soil. The results confirm whether sustainable drainage systems (SuDS) such as soakaways, infiltration trenches, or permeable paving can be used on your site.
For planning and Building Control, infiltration testing is a key step in designing surface water drainage systems. The test data feeds directly into calculations for soakaway sizing and ensures compliance with:
- BRE Digest 365 – the established technical method recognised by UK planning authorities.
- National Standards for SuDS – the government’s performance requirements for drainage, including how infiltration should be assessed, designed, and maintained.
- UK Building Standards – statutory requirements in England, Wales, Scotland, and Northern Ireland that mandate safe, effective drainage solutions as part of building design and construction.
When Do You Need an Infiltration Test?
You’ll typically need an infiltration test in the UK if:
- Your drainage design includes a soakaway or infiltration system – Required by planning policy, Building Regulations, and now reinforced in the National SuDS Standards.
- You are seeking SuDS approval – Both BRE 365 and the National Standards require infiltration to be considered before discharging surface water to a sewer or watercourse.
- You need to satisfy Building Standards – Building Control will expect proof that the proposed drainage meets performance and safety criteria, particularly for infiltration-based systems.
- You want to avoid unexpected redesigns – Testing early in the project confirms whether infiltration is viable and reduces cost and programme risks. Alternatively, it provides the evidence that soakaway drainage is not suitable on your site and drainage design can determine what other options are available.
UK Standards – BRE Digest 365, National SuDS Standards, and Building Standards
In the UK, infiltration testing for drainage design is carried out in accordance with BRE Digest 365. This standard sets out the method for testing, recording, and interpreting infiltration rates, and is accepted by local planning authorities nationwide.
The updated National Standards for SuDS and UK Building Standards add emphasis on:
- Managing runoff as close to source as possible.
- Demonstrating that infiltration has been assessed before considering alternative drainage routes.
- Designing infiltration systems for long-term durability and safe operation.
- Providing adequate maintenance access to ensure ongoing compliance.
By combining BRE 365 methodology with the National SuDS Standards and statutory Building Standards, Clear Environmental ensures your infiltration strategy meets the technical, policy, and legal requirements for approval.
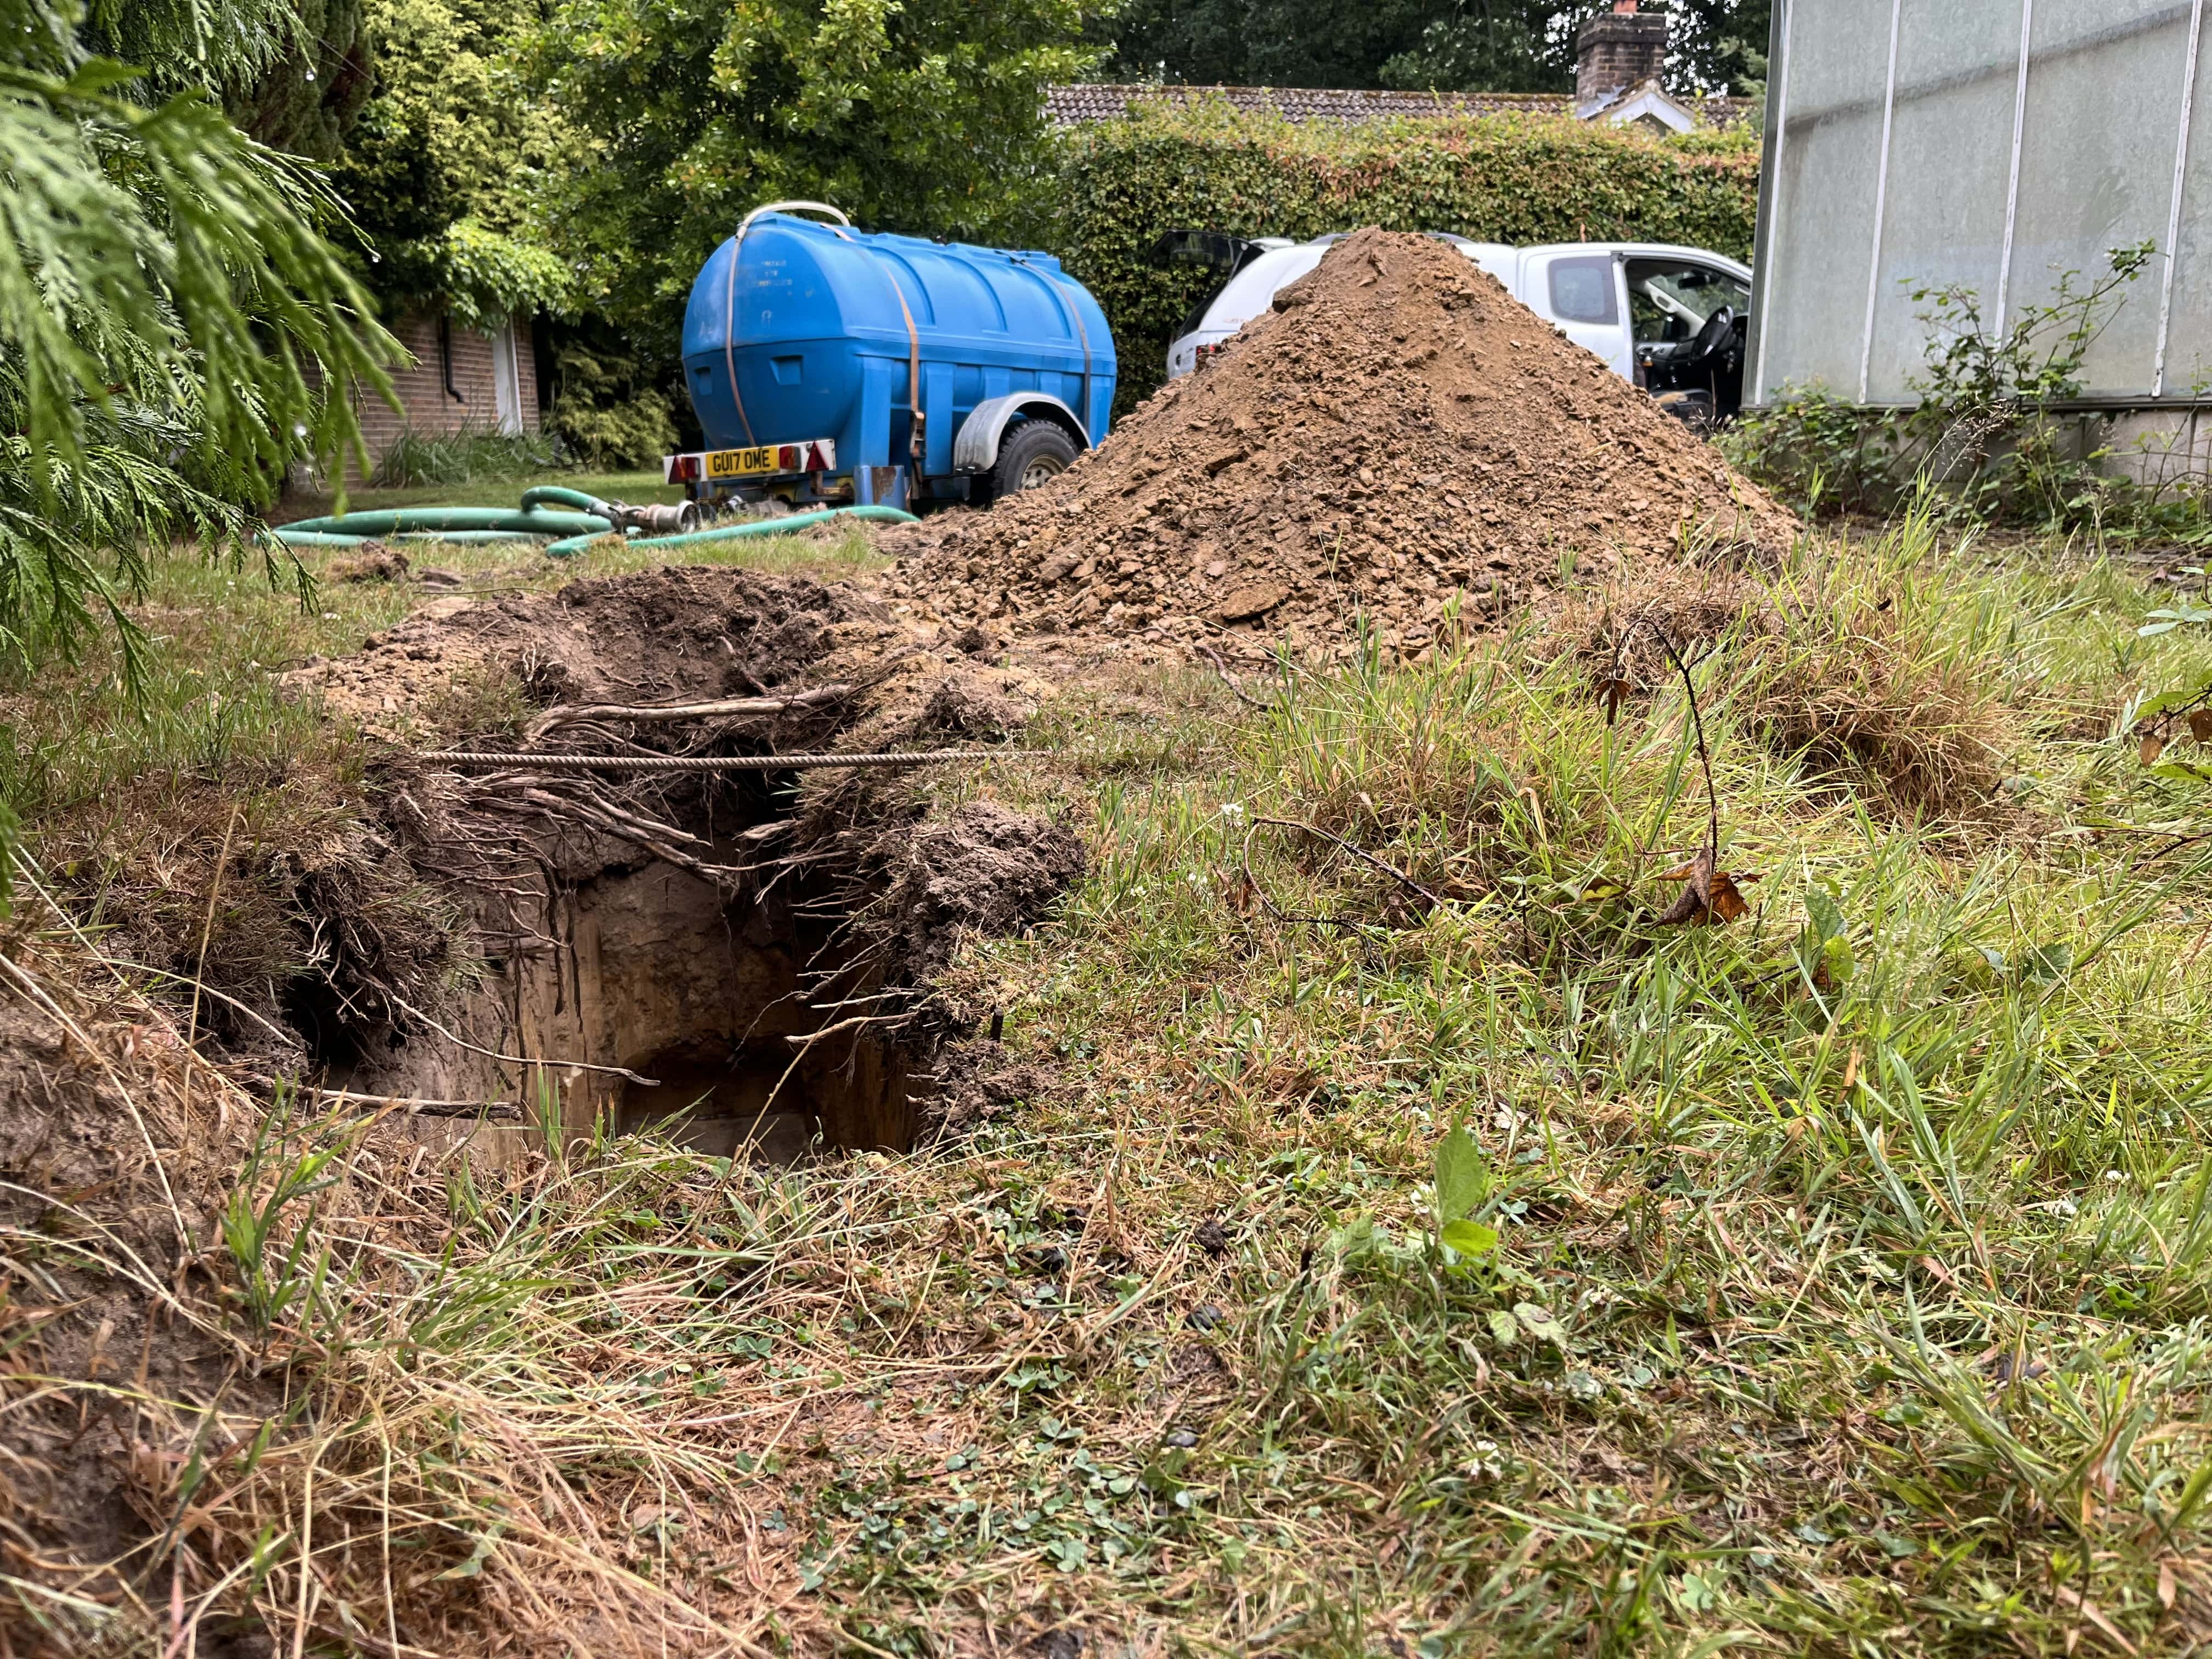
How an Infiltration Test is Carried Out
While specifics vary by site, the process generally involves:
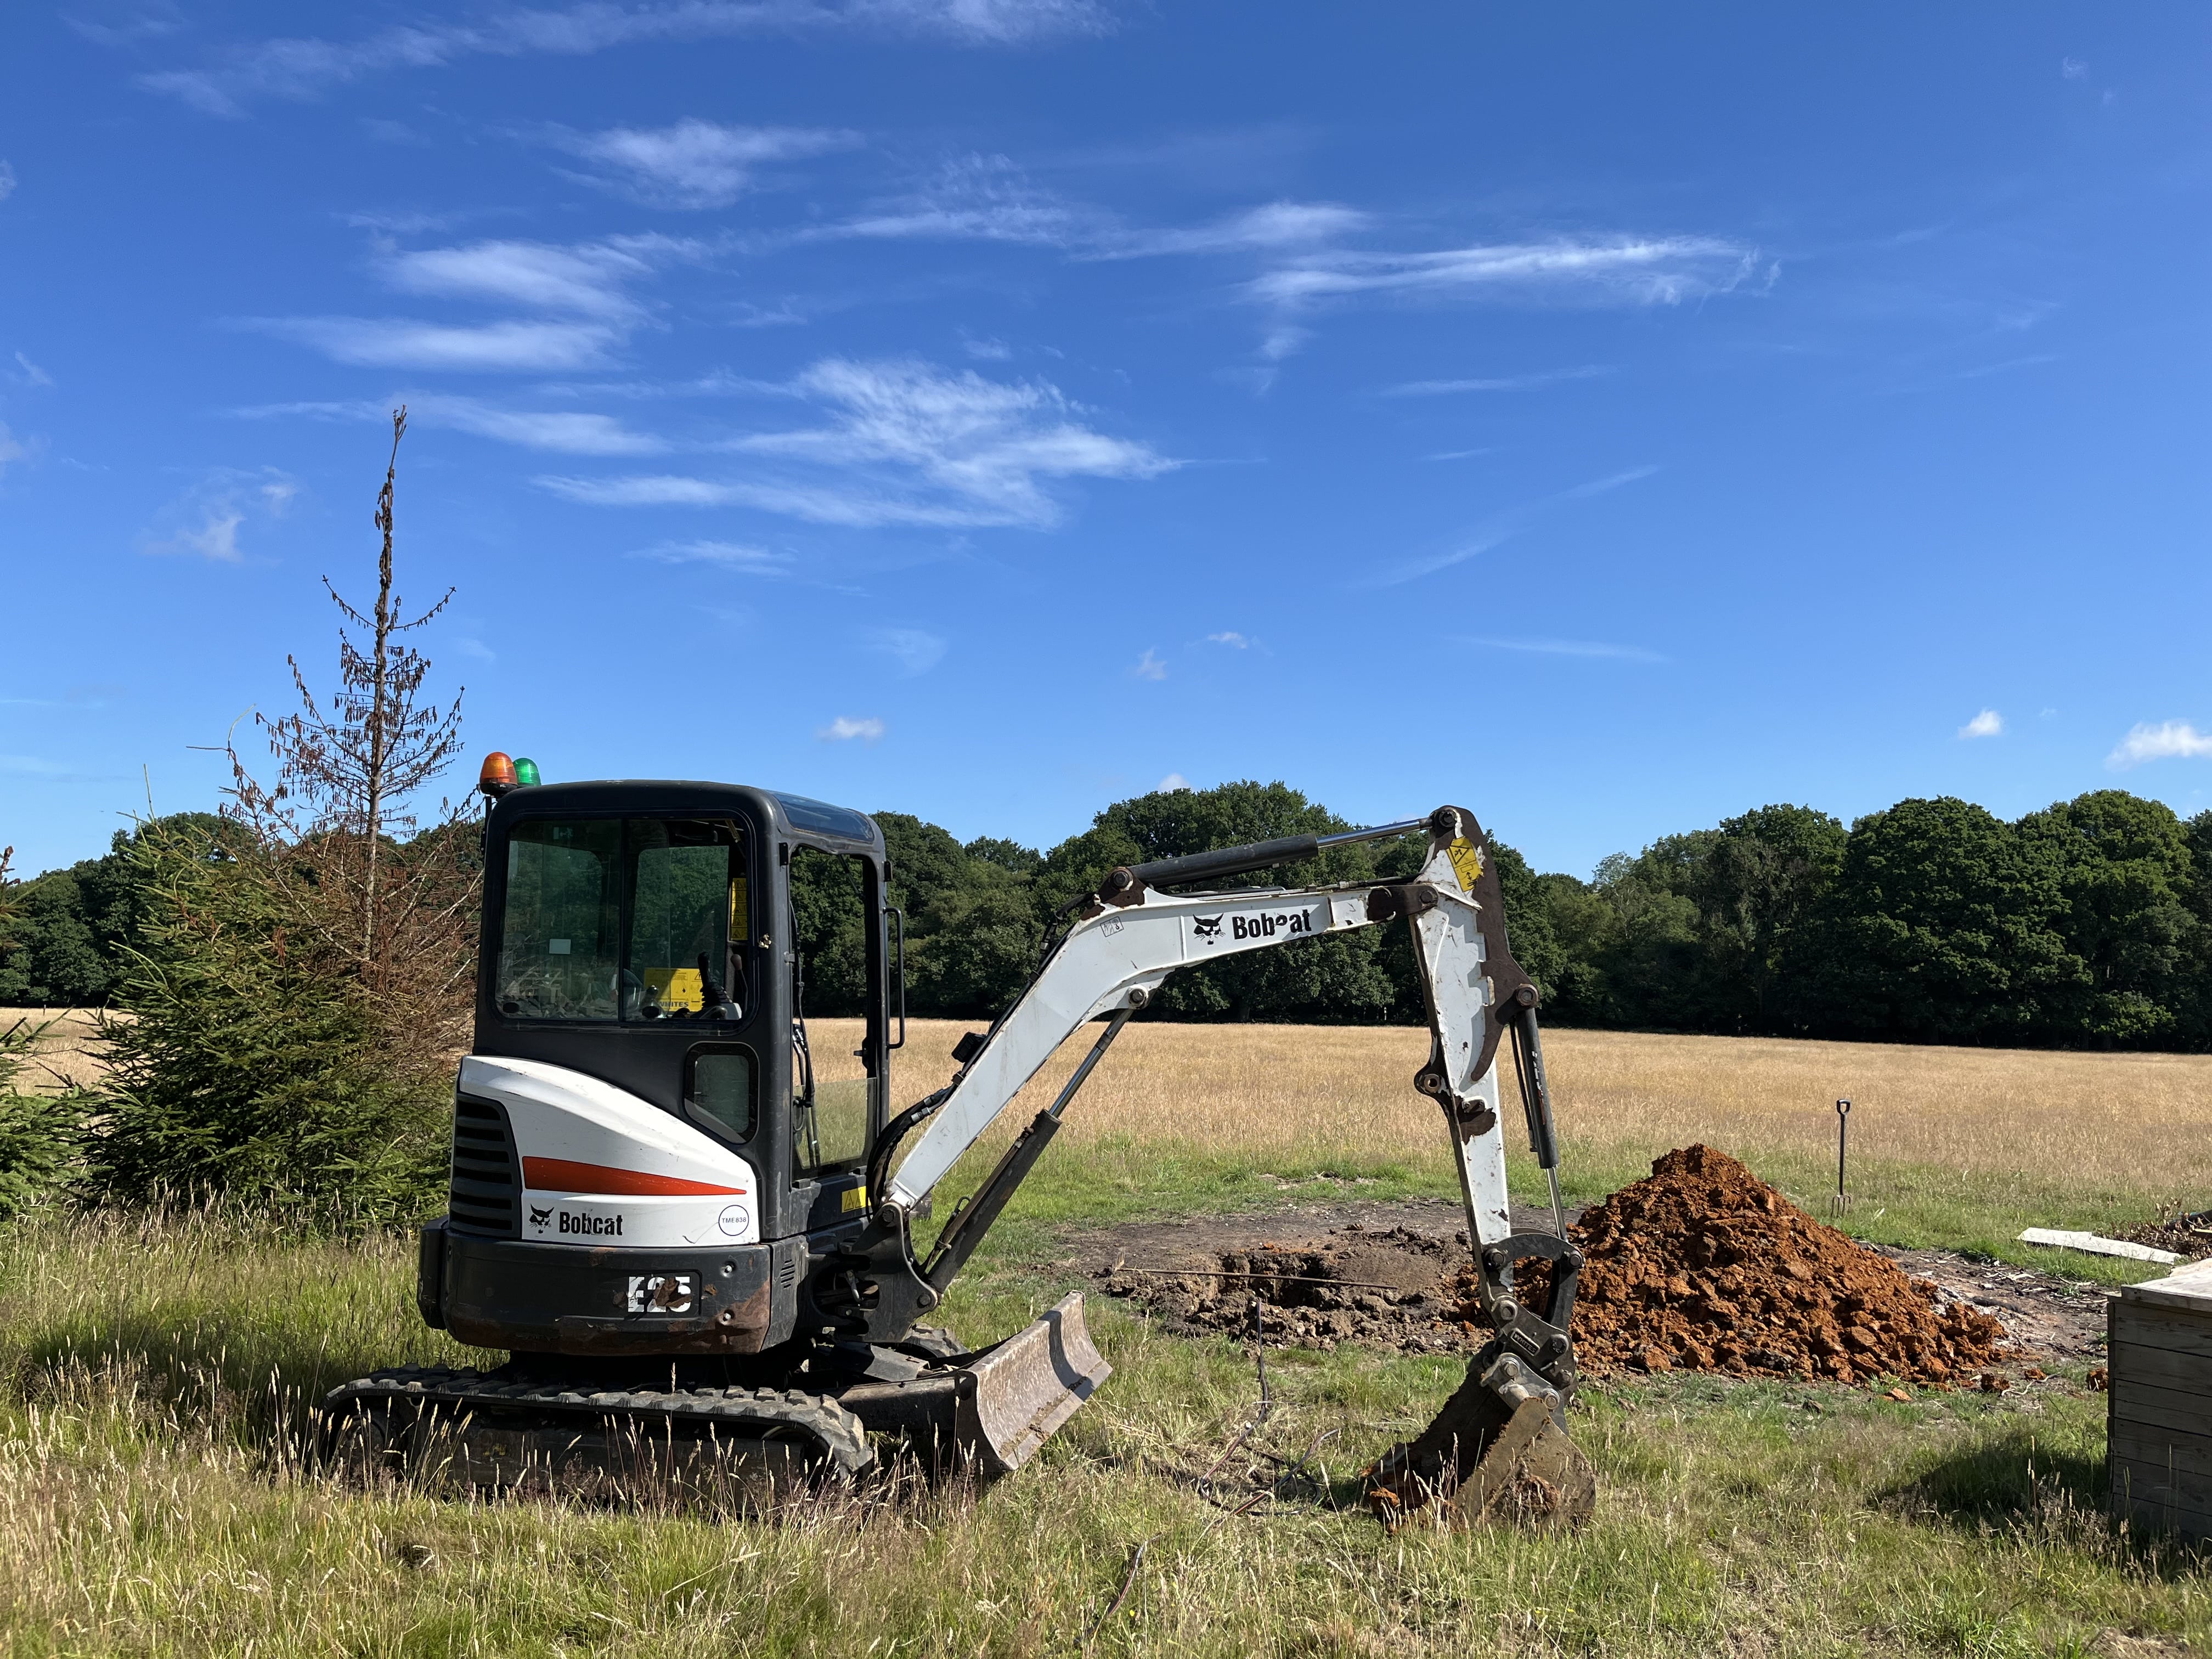
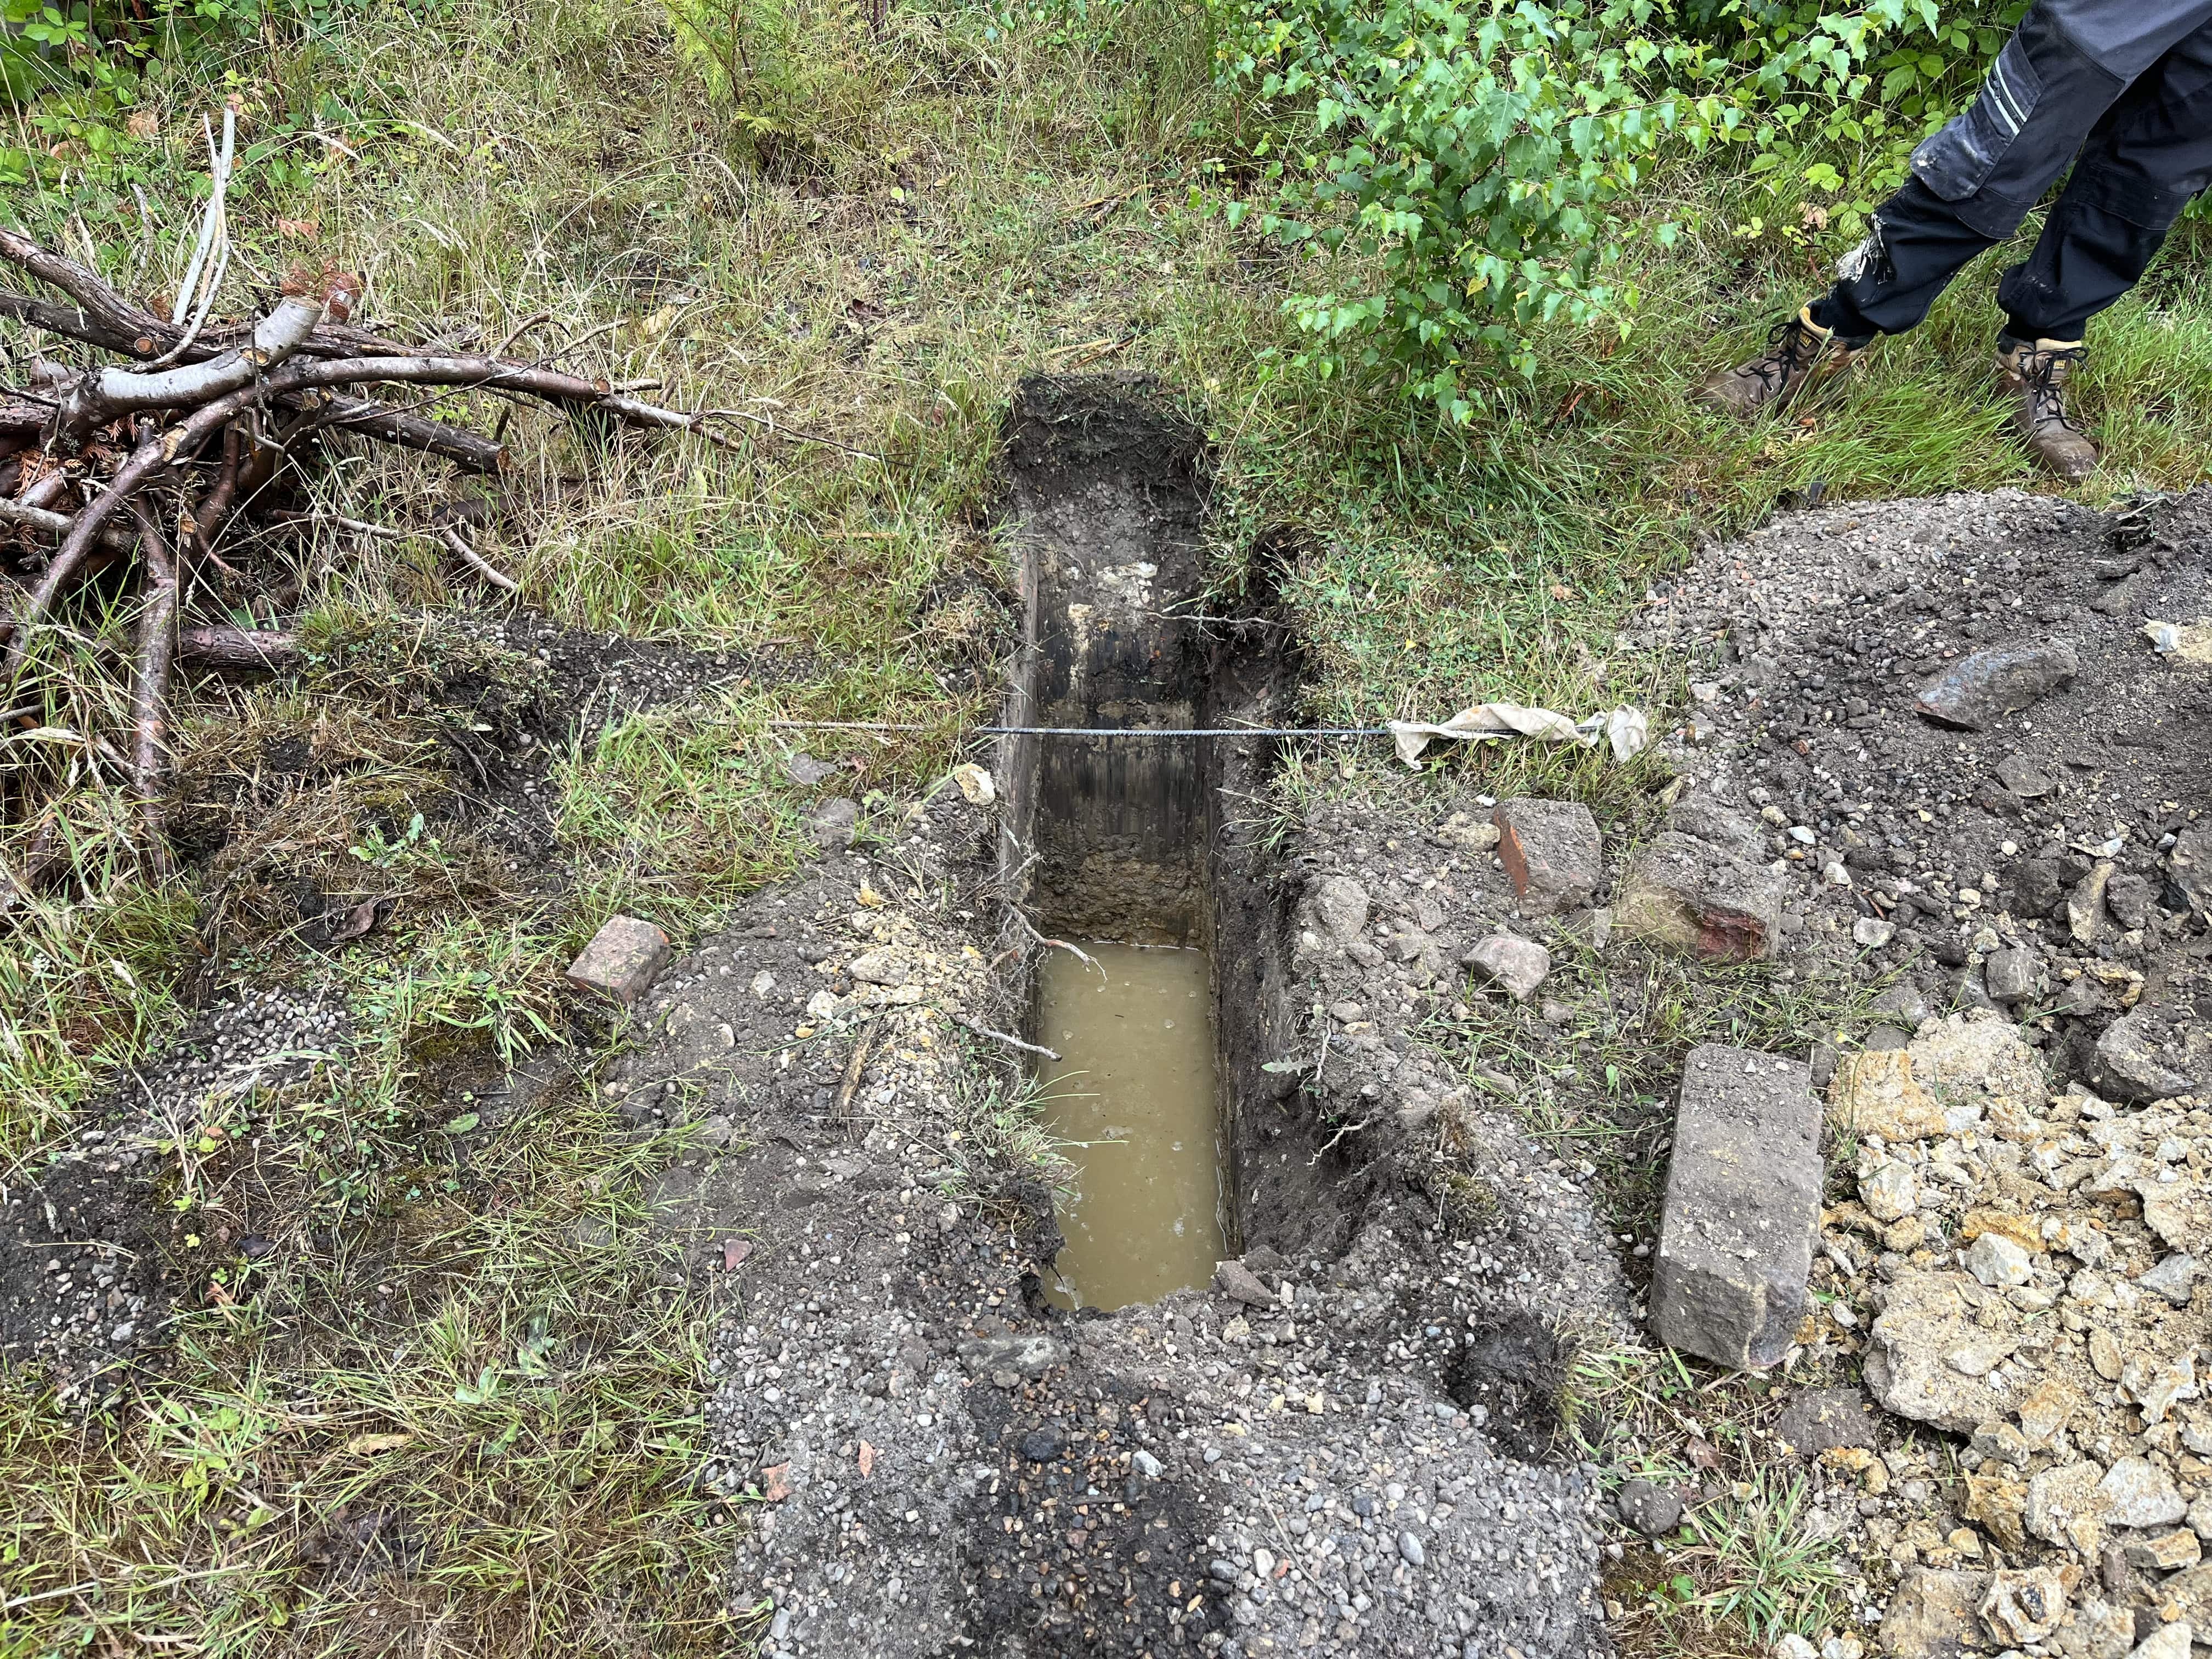
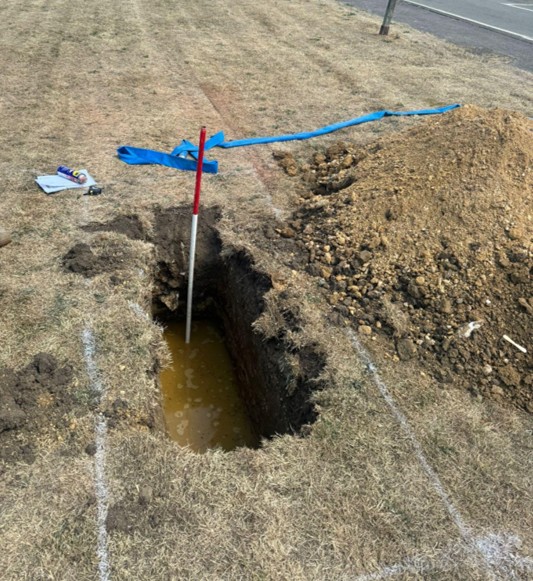
- Excavating Test Pits – Dug to the proposed depth of the soakaway or infiltration system, typically at least 1m deep, with straight sides. The location and depth should be selected to match the proposed system layout.
- Assessing Groundwater Levels – Groundwater conditions must be checked to ensure no groundwater is entering the pit during the test. It’s also important to confirm that, under seasonal high-water conditions, groundwater will not rise above the base or the inlet/outlet level of the soakaway. This assessment should take account of seasonal variations, as groundwater can be significantly higher in wetter months.
- Saturating the Soil – Filling the pit with water to allow the soil to reach typical wet-season conditions, ensuring results reflect the worst-case infiltration rate.
- Measuring Drainage Performance – Recording how long it takes for the water to drain away, then calculating the infiltration rate in metres per second.
- Reporting – Providing a council-ready report that includes infiltration rates, a comment on likely suitability for infiltration-based drainage, and confirmation that the testing meets BRE 365, National SuDS Standards, and Building Standards. These results should then be passed to a drainage engineer to finalise the system design.
Understanding the Results
The infiltration rate determines whether infiltration drainage is suitable:
- Acceptable rate – The design can proceed, with soakaway dimensions calculated in line with BRE 365, national SuDS requirements, and Building Standards.
- Too slow – Indicates impermeable or clay-rich soils; the standards require consideration of alternative SuDS features, such as swales, detention basins, or discharge to a sewer (with consent).
- Too fast – May require additional measures to ensure water is retained long enough for adequate treatment before infiltration.
Clear Environmental provides practical, commercially focused recommendations so your drainage strategy remains compliant and achievable under both the National Standards and Building Standards.
Why Choose Clear Environmental
- UK-Wide Service – Infiltration testing for projects of all sizes, nationwide.
- Standards Compliance – Testing meets BRE Digest 365 and the National Standards for SuDS.
- Fast Turnaround – Results delivered quickly to keep your project on track.
Ready to arrange infiltration testing?
Contact Clear Environmental today to discuss your site and book your test.
When a Phase 1 Desk Study identifies potential environmental risks, the next step is a Phase 2 Site Investigation, also called an intrusive investigation. This critical stage gathers real-world data to confirm or rule out contamination, protecting your project from unforeseen costs, planning delays, or environmental liabilities.
In this guide, we break down:
- How Phase 2 builds on Phase 1.
- The different investigation techniques (and when to use each).
- Typical timescales.
- How laboratory testing refines the site’s risk profile.
- What to expect at the end of a Phase 2 investigation.
How Phase 2 Builds on Phase 1
While a Phase 1 is based on desk research and a site walkover, a Phase 2 collects physical evidence through soil, groundwater, and ground gas sampling.
In short:
Phase 1 = Identify Potential Risks.
Phase 2 = Confirm or Dismiss Risks with Hard Data.
The findings from Phase 2 enable:
- Quantitative Risk Assessments (QRA) based on actual contamination levels.
- Decisions about whether remediation is necessary.
- Planning condition discharge if no unacceptable risks are found.
Phase 2 Site Investigation Methods
Different methods are used depending on the site, the anticipated risks, and the required depth of investigation:
- Best For: Shallow contamination, made ground assessment, visual soil profiling, locating foundations.
- Typical Depths: Up to 4 metres.
- Equipment: Mechanical excavator or hand-dug.
- Best For: Shallow contamination, installation of ground gas and groundwater wells, restricted access sites, cost-effective sampling.
- Typical Depths: Generally 5–6 metres, but can extend up to 10 metres depending on ground conditions.
- Equipment: Window sampling rig (tracked or towed).
- Best For: Deeper soils, groundwater sampling, ground gas monitoring, and collecting geotechnical data.
- Typical Depths: Up to 30 metres or more.
- Equipment: Cable percussion drilling rig.
- Best For: Hard ground, bedrock investigations, and installation of deep groundwater wells.
- Typical Depths: Up to 100 metres or more.
- Equipment: Rotary drilling rig (open hole, cored, or augered).
Tip: On smaller development sites, a combination of trial pits and window sampling often provides excellent coverage at a cost-effective price.
Types of Laboratory Testing During Phase 2
After sampling, the materials collected are sent for laboratory analysis to determine contamination levels:
- Soil Testing:
- Heavy metals (e.g., lead, arsenic)
- Hydrocarbons (TPH, PAHs)
- Asbestos in soil
- Emerging contaminants (e.g., PFAS)
- Groundwater Testing:
- Soluble contaminants (e.g., hydrocarbons, BTEX, solvents)
- Metals in solution
- PFAS detection
- Ground Gas Monitoring:
- Methane, carbon dioxide, oxygen concentrations
- Flow rates (for CS classification)
The results are then compared against appropriate assessment criteria to determine whether remediation is needed.
What Happens After Phase 2 Sampling?
1. Data Analysis and Quantitative Risk Assessment (QRA):
Risk to human health, controlled waters, or property assessed.
2. Conceptual Site Model Update:
Confirmed pollutant linkages mapped and risk-ranked.
3. Decision Point:
No significant risks: Reporting and planning condition discharge.
Significant risks: Recommend remediation (Phase 3).
Phase 1 vs Phase 2 - Quick Comparison Table
FAQs About Phase 2 Site Investigations
What happens if contamination is found in a Phase 2?
If contaminants exceed safe levels, a Remediation Strategy (Phase 3) will be needed to outline how risks will be managed.
Can a Site Investigations rule out the need for remediation?
Yes. Many sites require no further action after a properly scoped Phase 2 investigation.
Is ground gas monitoring always required during a Phase 2?
Not always. It depends on the site's history, geology, and desk study findings.
Why a Clear Phase 2 Strategy Matters
A well-designed Phase 2 Site Investigation provides confidence, clarity, and control.
It ensures you're fully informed about site risks, avoids unnecessary remediation, and moves your project efficiently through planning.
At Clear Environmental, we tailor Phase 2 investigations to your site. No over-scoping, no hidden costs, just clear advice.
If your Phase 2 results raise concerns, understanding how to move forward with proportional, commercially realistic remediation is crucial.
To learn what happens next from Phase 2 to Remediation Click Here.
Related Services
What is a Phase 1 Desk Study (Preliminary Risk Assessment)?
A Phase 1 Desk Study (Preliminary Risk Assessment) is an initial environmental assessment that researches a site’s history and conditions to identify potential contamination risks.
Whether you're planning to develop land, submit a planning application, or purchase a brownfield site, understanding environmental risks early is essential.
A Phase 1 Desk Study (also called a Preliminary Risk Assessment, Contaminated Land Assessment or Land Quality Report) is the first critical step in managing those risks efficiently, helping avoid costly surprises later in your project.
This guide explains exactly what a Phase 1 involves, why it’s required, and what you can expect from the process.
What is a Phase 1 Desk Study?
A Phase 1 Desk Study is a preliminary environmental assessment that evaluates the potential for land contamination based on historical and current land uses.
It is called a “desk study” because it mainly relies on reviewing existing records and data sources, alongside a site visit.
It does not involve any intrusive ground investigation, that's reserved for Phase 2 Site Investigation if risks are identified.
In simple terms:
A Phase 1 identifies if there’s a potential problem — before you commit to site purchase, design, or construction.
Why is a Phase 1 Desk Study Needed?
A Contaminated Land Report is often required to:
- Support planning applications (especially brownfield or previously developed sites).
- Satisfy lender due diligence for property transactions.
- Manage liability and avoid unexpected abnormal costs.
- Confirm if further investigations (Phase 2) are needed.
Without a Phase 1, local authorities, insurers, and funders may refuse to progress development or financing.
Key Components of a Phase 1 Desk Study
A thorough Phase 1 typically includes:
What Does a Phase 1 Report Contain?
A typical Phase 1 Desk Study Report will include:
- Executive Summary (key findings and recommendations).
- Site location and description.
- Historical land use review (maps and aerial photography).
- Environmental setting (geology, hydrology, groundwater).
- Regulatory database review (permits, enforcement notices, pollution incidents).
- Walkover survey findings (including annotated site photos).
- Preliminary Conceptual Site Model (CSM).
- Risk assessment and clear conclusions.
- Next steps, if further investigation is needed.
At Clear Environmental, our Phase 1 reports are concise, commercially-focused, and designed to satisfy planning authorities and lenders without unnecessary complexity.
How Long Does a Phase 1 Desk Study Take?
Most Phase 1 assessments can be completed within 10 Days.
We also offer fast-track services if you’re working to tight planning or transaction deadlines.
Phase 1 Desk Study vs. Environmental Search: What's the Difference?
Key point: An Environmental Search is not a substitute for a Phase 1 — it’s simply a basic desktop screening.
Why Clear Environmental for Your Phase 1?
A Phase 1 Desk Study isn’t just a box-ticking exercise, it’s your first opportunity to manage risks, reduce abnormal development costs, and protect your investment.
At Clear Environmental, we combine technical expertise with commercial insight to deliver Phase 1 Reports that meet planning, legal, and financial requirements quickly and clearly.
Related Services
FAQs About Phase 1 Environmental Desk Studies
When should I commission a Phase 1 Environmental Report?
Ideally before site acquisition or at the earliest planning stage, so risks and costs are identified early.
Will a Phase 1 Desk Study always recommend a Phase 2 Site Investigation?
No — many sites with clean histories and no risk linkages can be signed off at Phase 1.
Who needs a Phase 1 Environmental Desk Study?
Developers, property investors, planners, architects, solicitors, and lenders commonly require Phase 1 studies.
Will the council accept my Phase 1 report for planning?
Yes — provided it follows UK guidance (such as EA Land Contamination Risk Management (LCRM)) and is prepared by qualified specialists.
What happens if my Phase 1 shows contamination risks?
We’ll outline the recommended Phase 2 site investigation scope and cost early, so you remain in control.
FAQs About Contaminated Land Assessments
What is a contaminated land assessment?
A contaminated land assessment identifies whether land poses environmental or health risks, helping manage liabilities before development or purchase.
What is the difference between Phase 1 and Phase 2?
Phase 1 is a desktop and site walkover study identifies potential risks. Phase 2 collects soil, water, and gas samples to confirm actual contamination.
How long does a Phase 1 Environmental Report and Phase 2 Site Investigation take?
A Phase 1 takes 10 days. A Phase 2 takes 4-6 weeks depending on complexity.
What happens if contamination is found during a Site Investigation?
A remediation strategy is developed to remove or manage the risks to acceptable levels.
Do I always need a Phase 2 investigation?
Not always — if Phase 1 finds no significant risks, Phase 2 may not be necessary.
FAQs About Contaminated Land Assessments
What’s a Ground Gas and Vapour Strategy (GGVS)?
A GGVS is a targeted investigation to assess the presence and risk of gases such as methane, carbon dioxide, and vapours. It typically involves installing monitoring wells, conducting several monitoring visits, and using standards like CIRIA C665 and BS8485 to determine whether protection is needed.
Do I need gas monitoring for a small extension in RBKC?
Not necessarily. If the Phase 1 Ground Gas Risk Assessment confirms no credible risk — for example, if the site is underlain by intact London Clay with no Made Ground — monitoring may not be needed. In low-risk situations, RBKC may accept the installation of basic gas protection measures with a verification statement instead.
How long does a ground gas investigation take from start to finish?
The monitoring phase typically requires 3 - 6 visits spread over a few weeks, depending on site complexity and weather pressure conditions. Including report preparation, the whole process can take around 6 - 12 weeks.
Can I reuse historical ground gas data for planning?
Yes — provided the data is recent, reliable, and representative of current conditions. Clear Environmental reviews historic site investigation records early to help reduce costs and avoid unnecessary repeat monitoring.
What happens if gas risks are confirmed?
If gas concentrations exceed safe thresholds, you’ll need to install mitigation measures such as membranes, venting layers, or structural barriers. Clear Environmental will design a practical, proportionate solution and prepare the necessary Remediation and Verification reports.
What should be included in the Ground Gas Verification Report?
The Verification Report must include photographic evidence, product specifications, a signed statement of installation quality, and confirmation that gas protection was installed in accordance with RBKC expectations. For some projects, additional tracer gas testing may be required.

.jpg)