

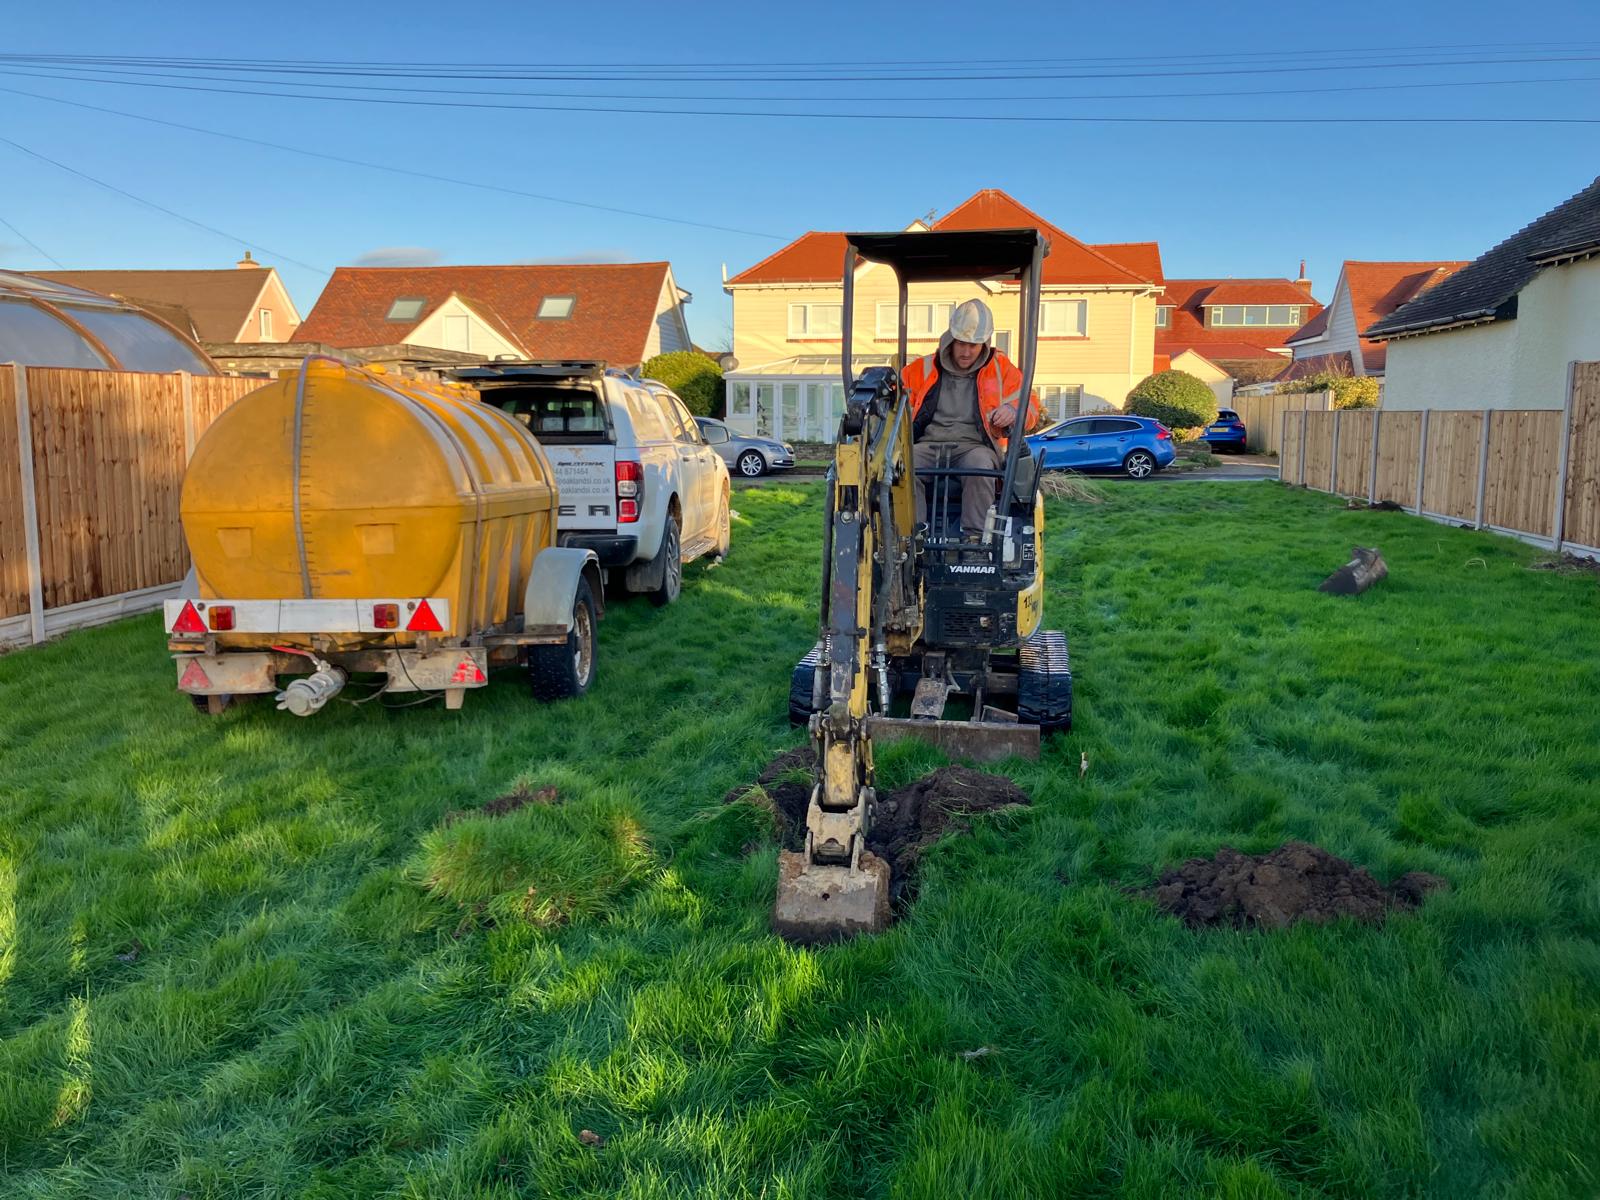
When a Phase 1 Desk Study identifies potential environmental risks, the next step is a Phase 2 Site Investigation, also called an intrusive investigation. This critical stage gathers real-world data to confirm or rule out contamination, protecting your project from unforeseen costs, planning delays, or environmental liabilities.
In this guide, we break down:
- How Phase 2 builds on Phase 1.
- The different investigation techniques (and when to use each).
- Typical timescales.
- How laboratory testing refines the site’s risk profile.
- What to expect at the end of a Phase 2 investigation.
How Phase 2 Builds on Phase 1
While a Phase 1 is based on desk research and a site walkover, a Phase 2 collects physical evidence through soil, groundwater, and ground gas sampling.
In short:
Phase 1 = Identify Potential Risks.
Phase 2 = Confirm or Dismiss Risks with Hard Data.
The findings from Phase 2 enable:
- Quantitative Risk Assessments (QRA) based on actual contamination levels.
- Decisions about whether remediation is necessary.
- Planning condition discharge if no unacceptable risks are found.
Phase 2 Site Investigation Methods
Different methods are used depending on the site, the anticipated risks, and the required depth of investigation:
- Best For: Shallow contamination, made ground assessment, visual soil profiling, locating foundations.
- Typical Depths: Up to 4 metres.
- Equipment: Mechanical excavator or hand-dug.
- Best For: Shallow contamination, installation of ground gas and groundwater wells, restricted access sites, cost-effective sampling.
- Typical Depths: Generally 5–6 metres, but can extend up to 10 metres depending on ground conditions.
- Equipment: Window sampling rig (tracked or towed).
- Best For: Deeper soils, groundwater sampling, ground gas monitoring, and collecting geotechnical data.
- Typical Depths: Up to 30 metres or more.
- Equipment: Cable percussion drilling rig.
- Best For: Hard ground, bedrock investigations, and installation of deep groundwater wells.
- Typical Depths: Up to 100 metres or more.
- Equipment: Rotary drilling rig (open hole, cored, or augered).
Tip: On smaller development sites, a combination of trial pits and window sampling often provides excellent coverage at a cost-effective price.
Types of Laboratory Testing During Phase 2
After sampling, the materials collected are sent for laboratory analysis to determine contamination levels:
- Soil Testing:
- Heavy metals (e.g., lead, arsenic)
- Hydrocarbons (TPH, PAHs)
- Asbestos in soil
- Emerging contaminants (e.g., PFAS)
- Groundwater Testing:
- Soluble contaminants (e.g., hydrocarbons, BTEX, solvents)
- Metals in solution
- PFAS detection
- Ground Gas Monitoring:
- Methane, carbon dioxide, oxygen concentrations
- Flow rates (for CS classification)
The results are then compared against appropriate assessment criteria to determine whether remediation is needed.
What Happens After Phase 2 Sampling?
1. Data Analysis and Quantitative Risk Assessment (QRA):
Risk to human health, controlled waters, or property assessed.
2. Conceptual Site Model Update:
Confirmed pollutant linkages mapped and risk-ranked.
3. Decision Point:
No significant risks: Reporting and planning condition discharge.
Significant risks: Recommend remediation (Phase 3).
Phase 1 vs Phase 2 - Quick Comparison Table
FAQs About Phase 2 Site Investigations
What happens if contamination is found in a Phase 2?

If contaminants exceed safe levels, a Remediation Strategy (Phase 3) will be needed to outline how risks will be managed.
Can a Site Investigations rule out the need for remediation?
Yes. Many sites require no further action after a properly scoped Phase 2 investigation.
Is ground gas monitoring always required during a Phase 2?
Not always. It depends on the site's history, geology, and desk study findings.
Why a Clear Phase 2 Strategy Matters
A well-designed Phase 2 Site Investigation provides confidence, clarity, and control.
It ensures you're fully informed about site risks, avoids unnecessary remediation, and moves your project efficiently through planning.
At Clear Environmental, we tailor Phase 2 investigations to your site. No over-scoping, no hidden costs, just clear advice.
If your Phase 2 results raise concerns, understanding how to move forward with proportional, commercially realistic remediation is crucial.
To learn what happens next from Phase 2 to Remediation Click Here.
Related Services
Discover methods like trial pits and boreholes with timescales, and how Phase 2 builds on Phase 1 to manage land contamination risks effectively.
Our services cover due diligence, contaminated land, ground conditions and drainage.
Explore our services →Related guidance
Get a quote for your site.
Send us the address and what you’re planning. A senior consultant will reply with a quote and the right first step, usually within one working day.